Apple includes a bundle of useful software with every Mac, but this barely scratches the surface of what’s possible with free third-party apps. While installing apps is simple—either by dragging the APP file into your Applications folder or running a simple package installer—Mac package manager Homebrew makes it easier and faster.
There are more apps available via Homebrew than you probably think, and the utility makes for a bustling hive of free and open-source software. Here are my favorites, and the one-line commands you can use to install them.
What’s Homebrew?
For the uninitiated, Homebrew is package manager that lets you install Mac apps via the command line. Before you roll your eyes and close the tab, you should know that it’s incredibly easy to use and well worth taking two minutes to set up. We’ve got a full tutorial that covers using Homebrew on a Mac, but if you want to get started right now simply open a Terminal window and run the following:
/bin/bash -c "$(curl -fsSL https://raw.githubusercontent.com/Homebrew/install/HEAD/install.sh)"
Once the setup has been completed, you can use a few simple commands to install, search for, get more information about, and remove apps and command-line utilities.
To install an app, use the brew install command. To search for something, simply type brew search . To get more information about a package, type brew info (handy to find out the current version and get the project’s homepage). To remove an app, all you need is a simple brew uninstall . Replace
You can learn even more commands using the brew help command, but you won’t need to go beyond this to get your money’s worth out of Homebrew. Whenever I’m looking for a new app I’ll always check whether it’s available on Homebrew first. A major reason is being able to update everything with a simple brew upgrade command in the Terminal.
Related
How to Install Homebrew on a Mac
Homebrew is a package manager that makes installing open-source utilities and full-blown apps as easy as typing a few commands into Terminal.
Now that you’re a command-line wizard, let’s install some apps.
1
Firefox
brew install firefox
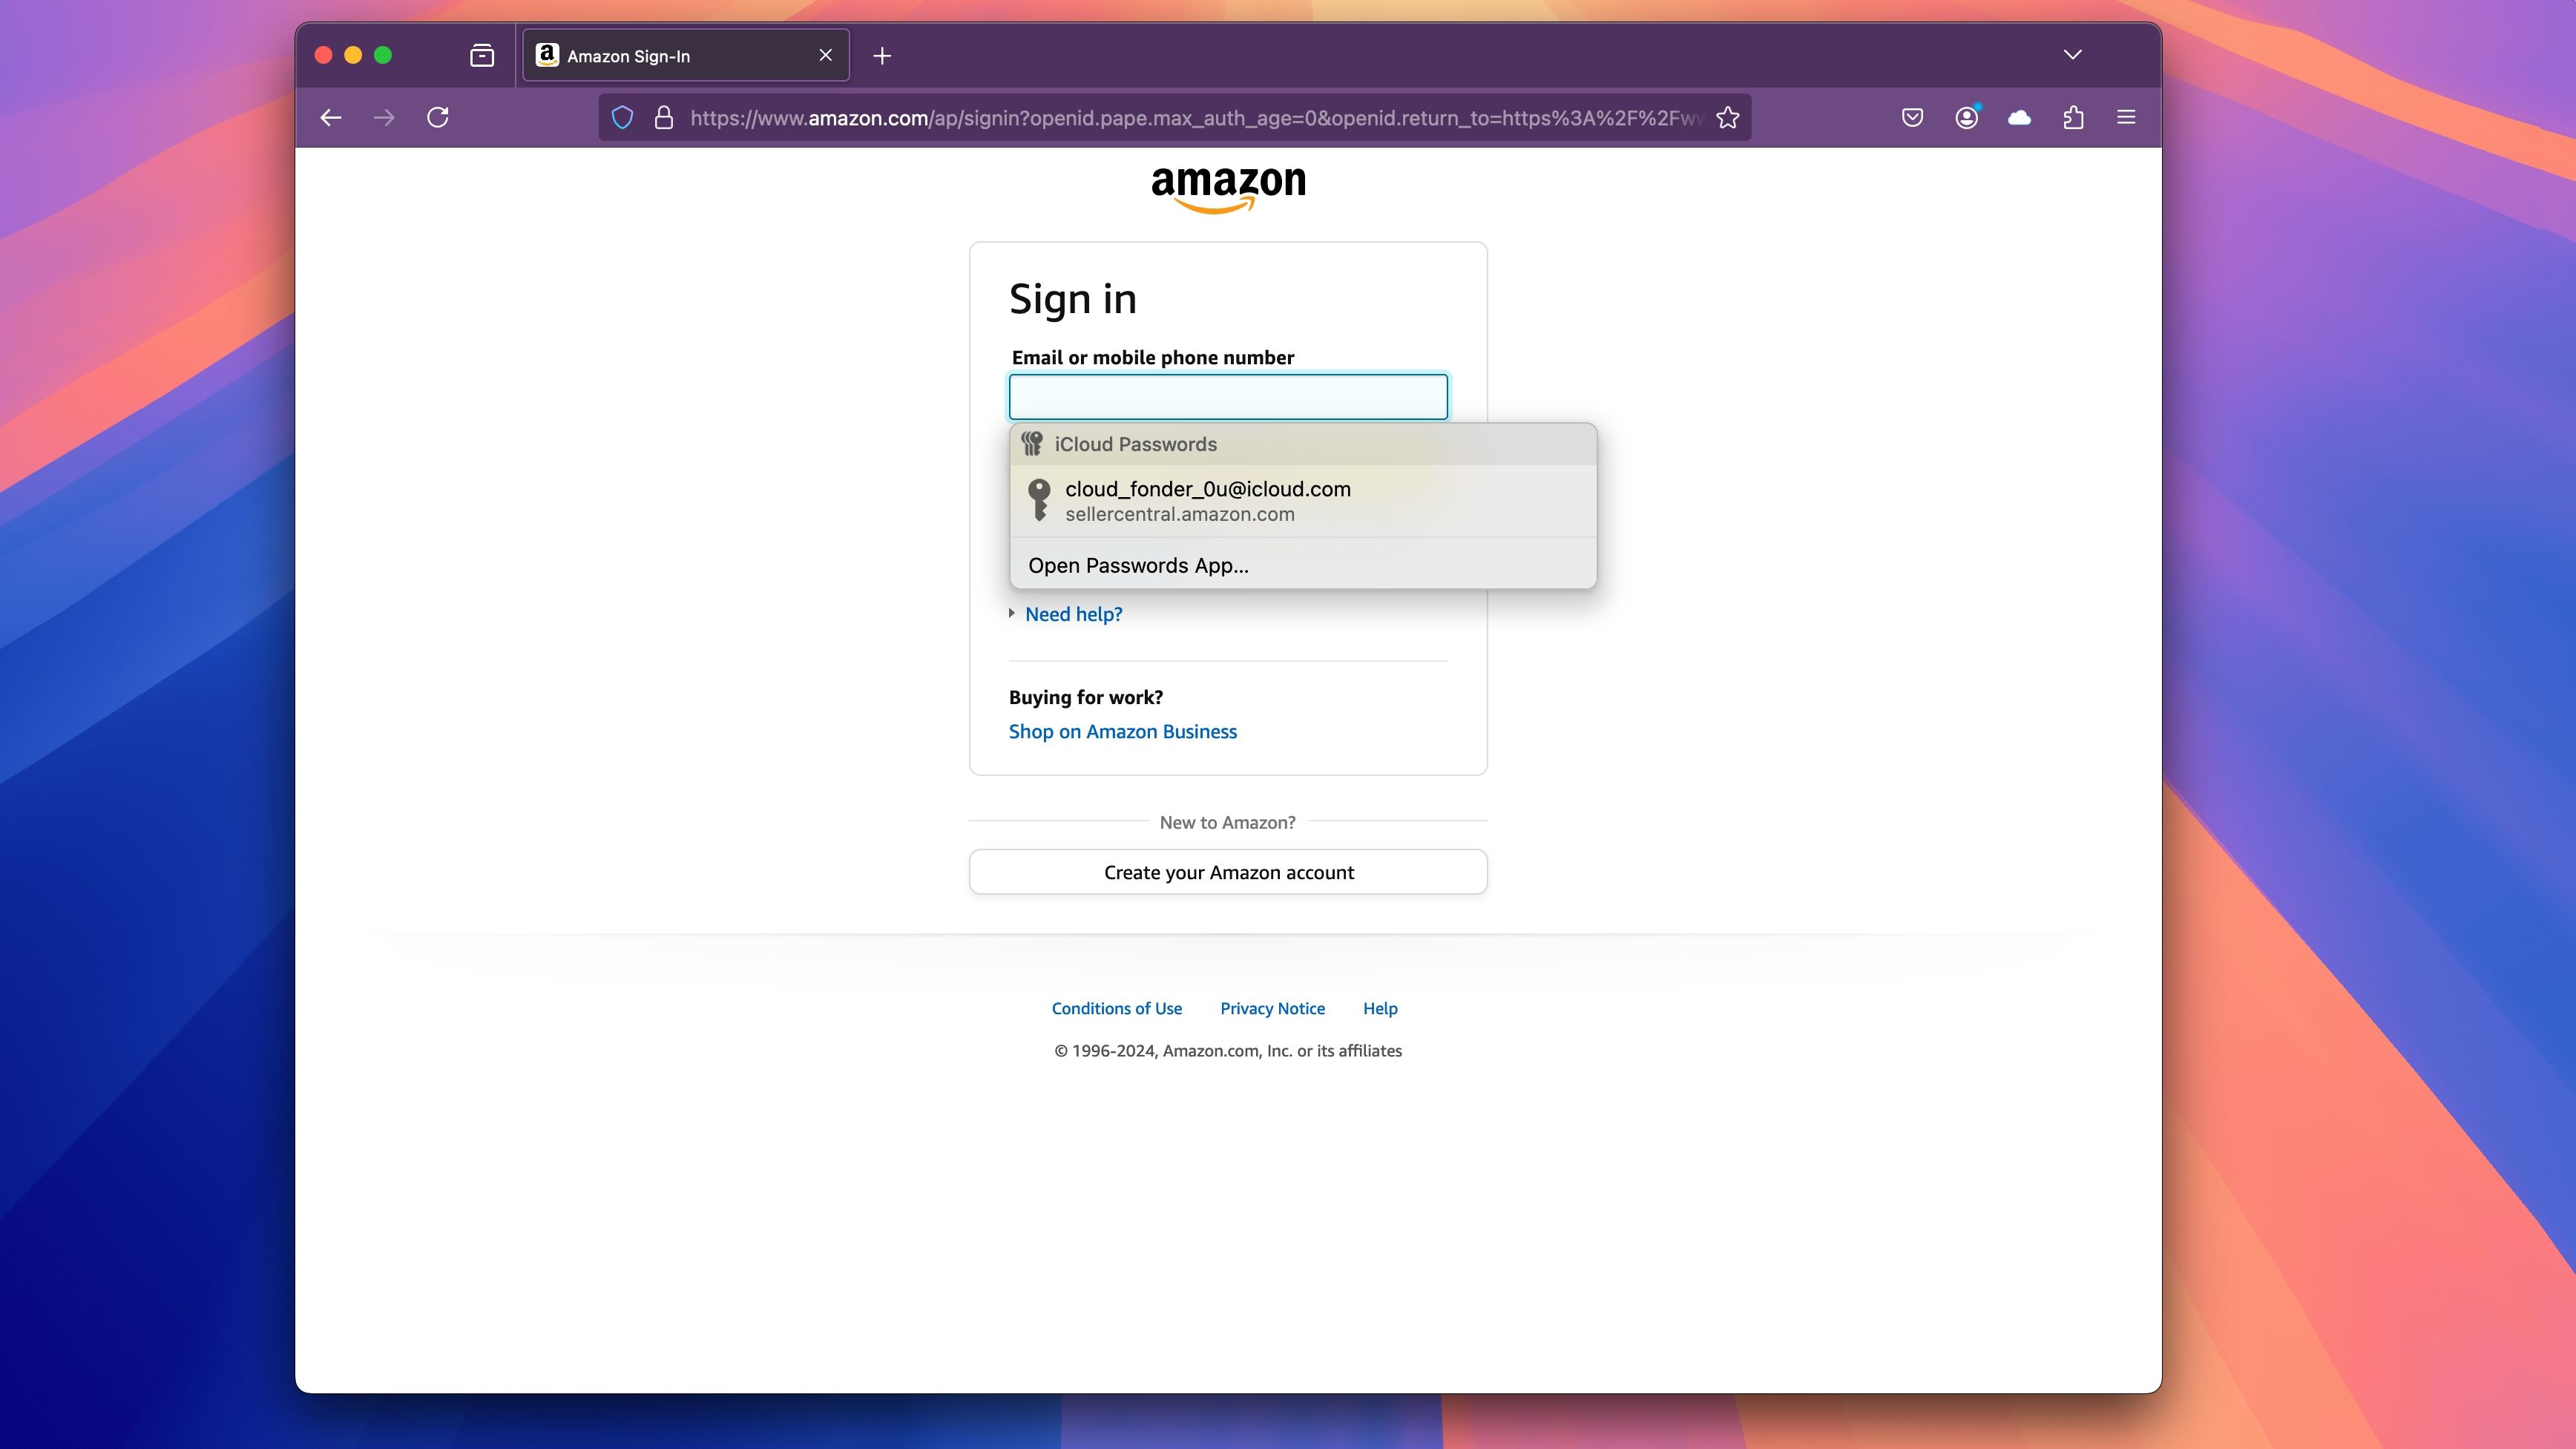
I use Safari almost exclusively, but I also have four other browsers installed at any one time. Part of it is because of this job, but it’s often the case that some websites just don’t work properly in Safari. In cases like this, Firefox is my default choice because it’s free, private, and independent of Microsoft and Google.
In addition to the main firefox cask, you can also install beta (firefox@beta) and nightly (firefox@nightly) versions, among others. You’ll also find browsers like Chromium (chromium), Vivaldi (vivaldi), and Edge (microsoft-edge, but also microsoft-edge@dev for the development arm) in the repository.
2
darktable
brew install darktable
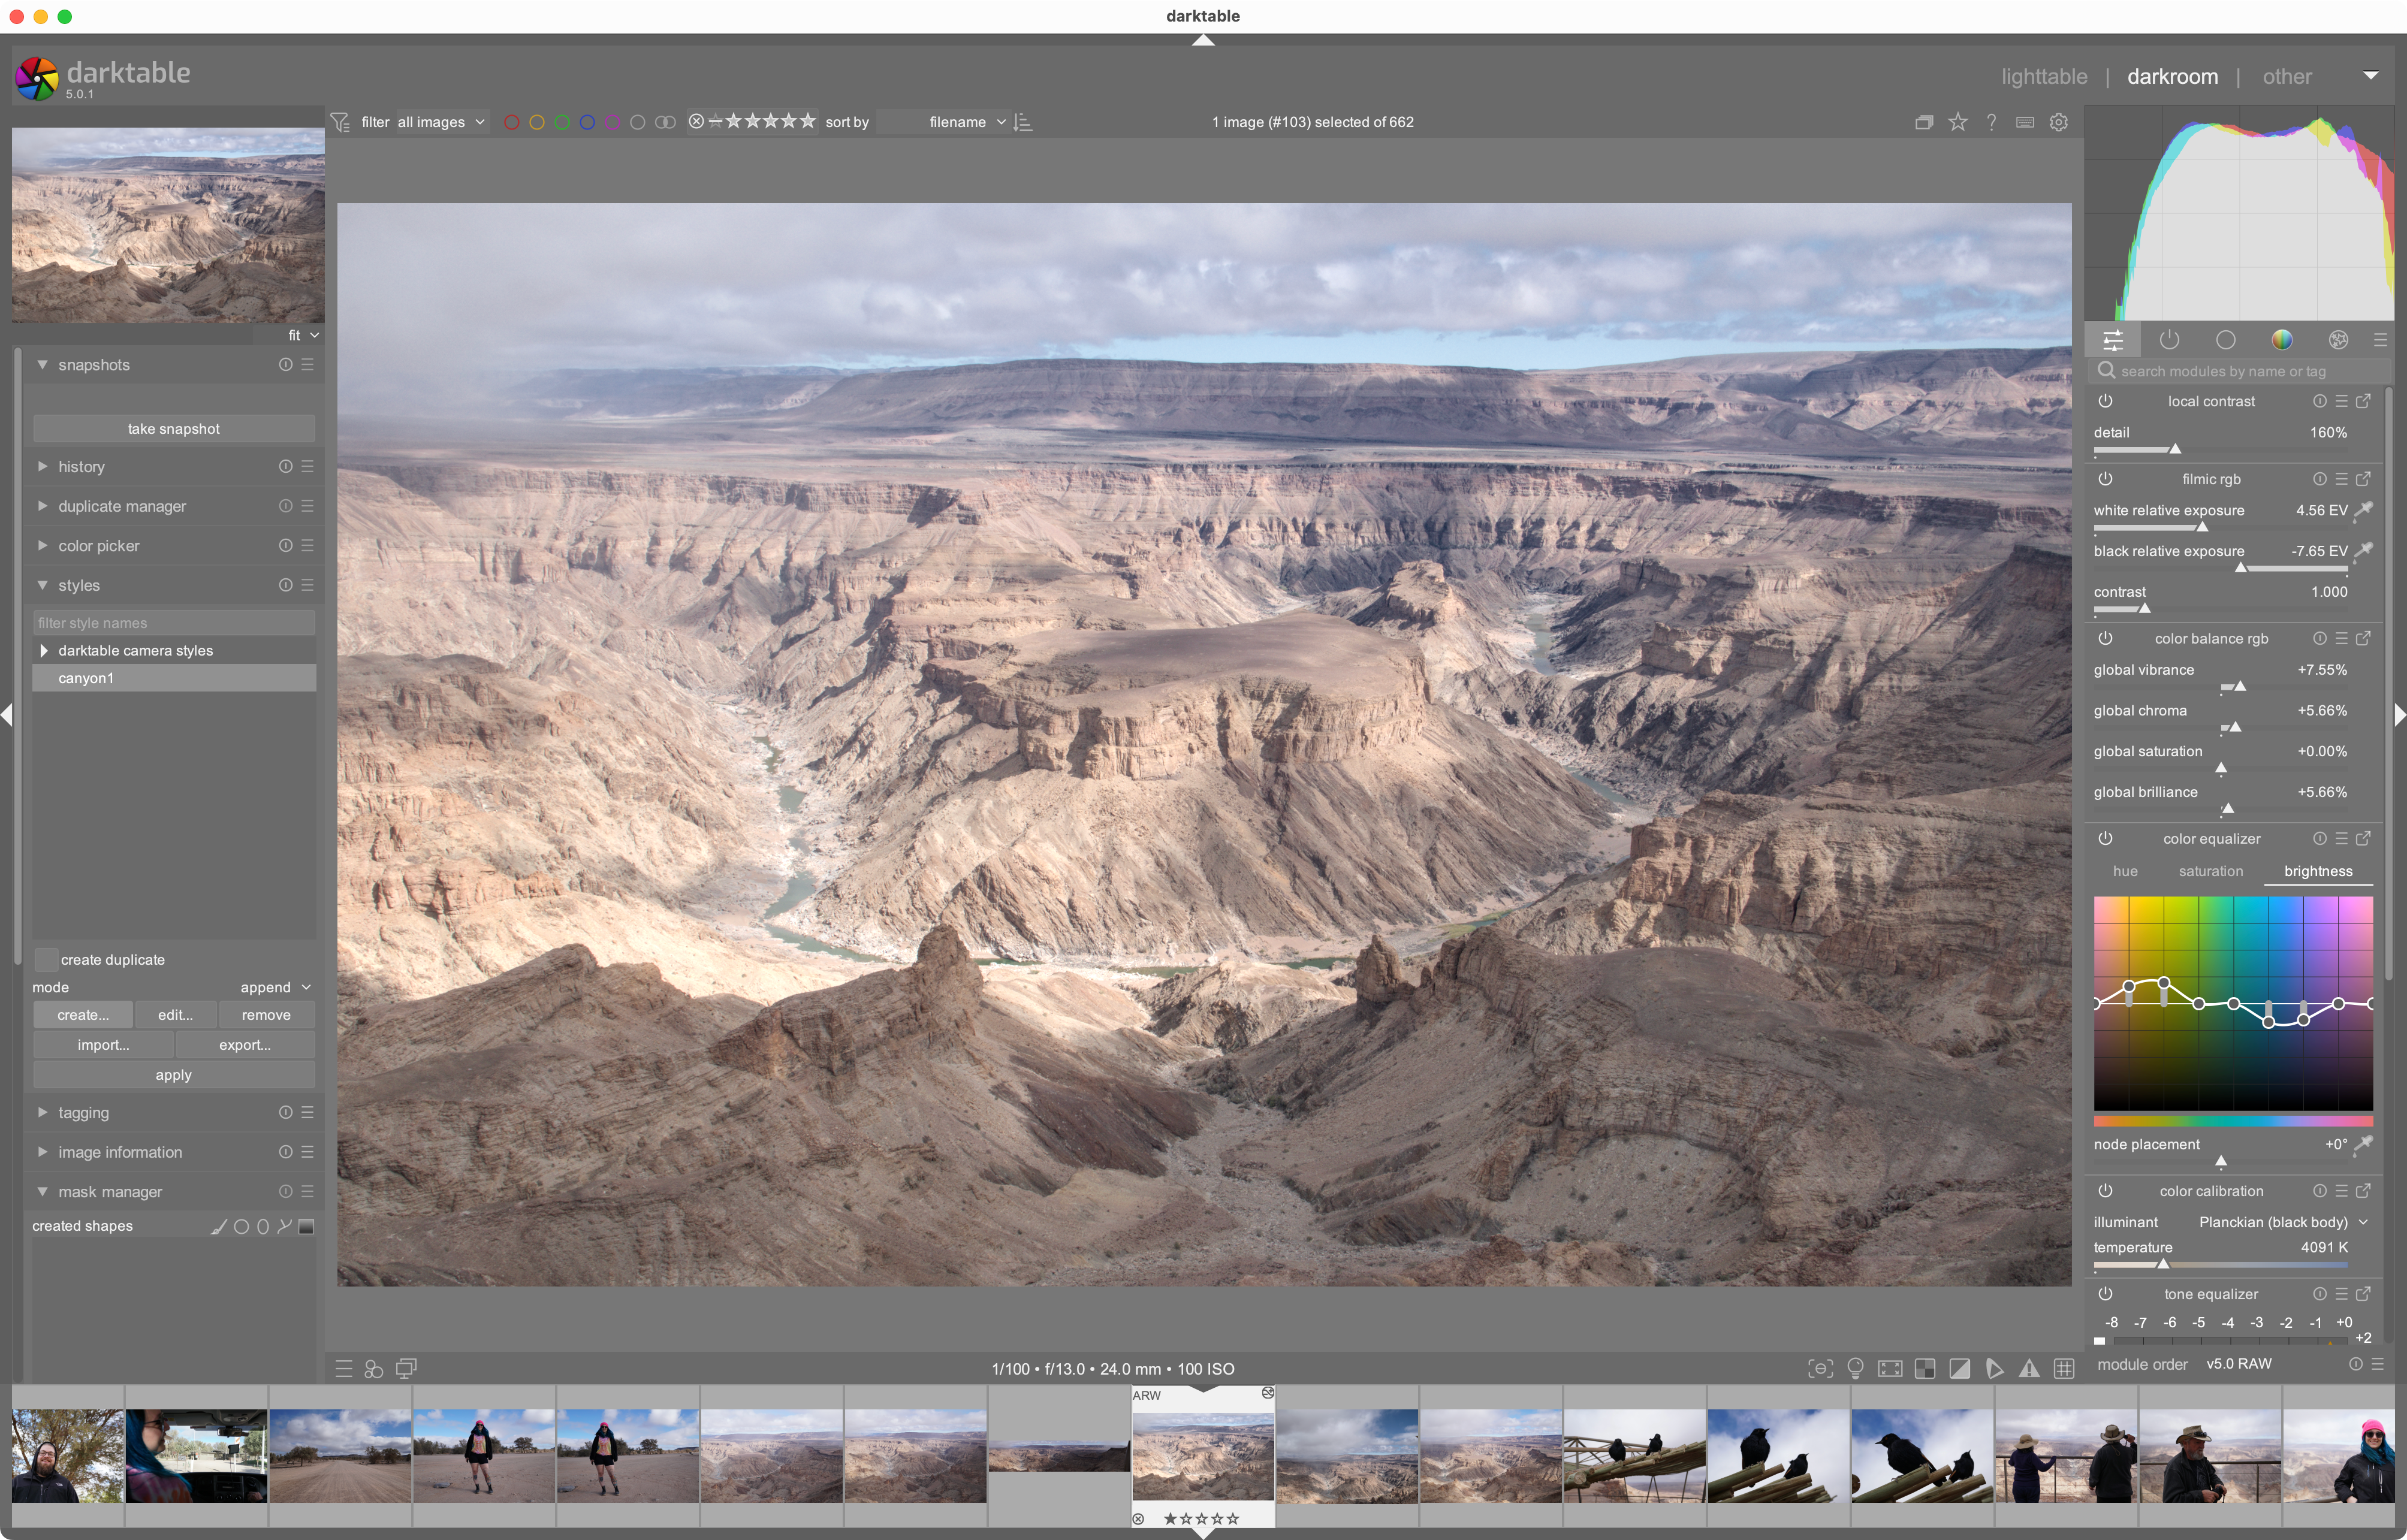
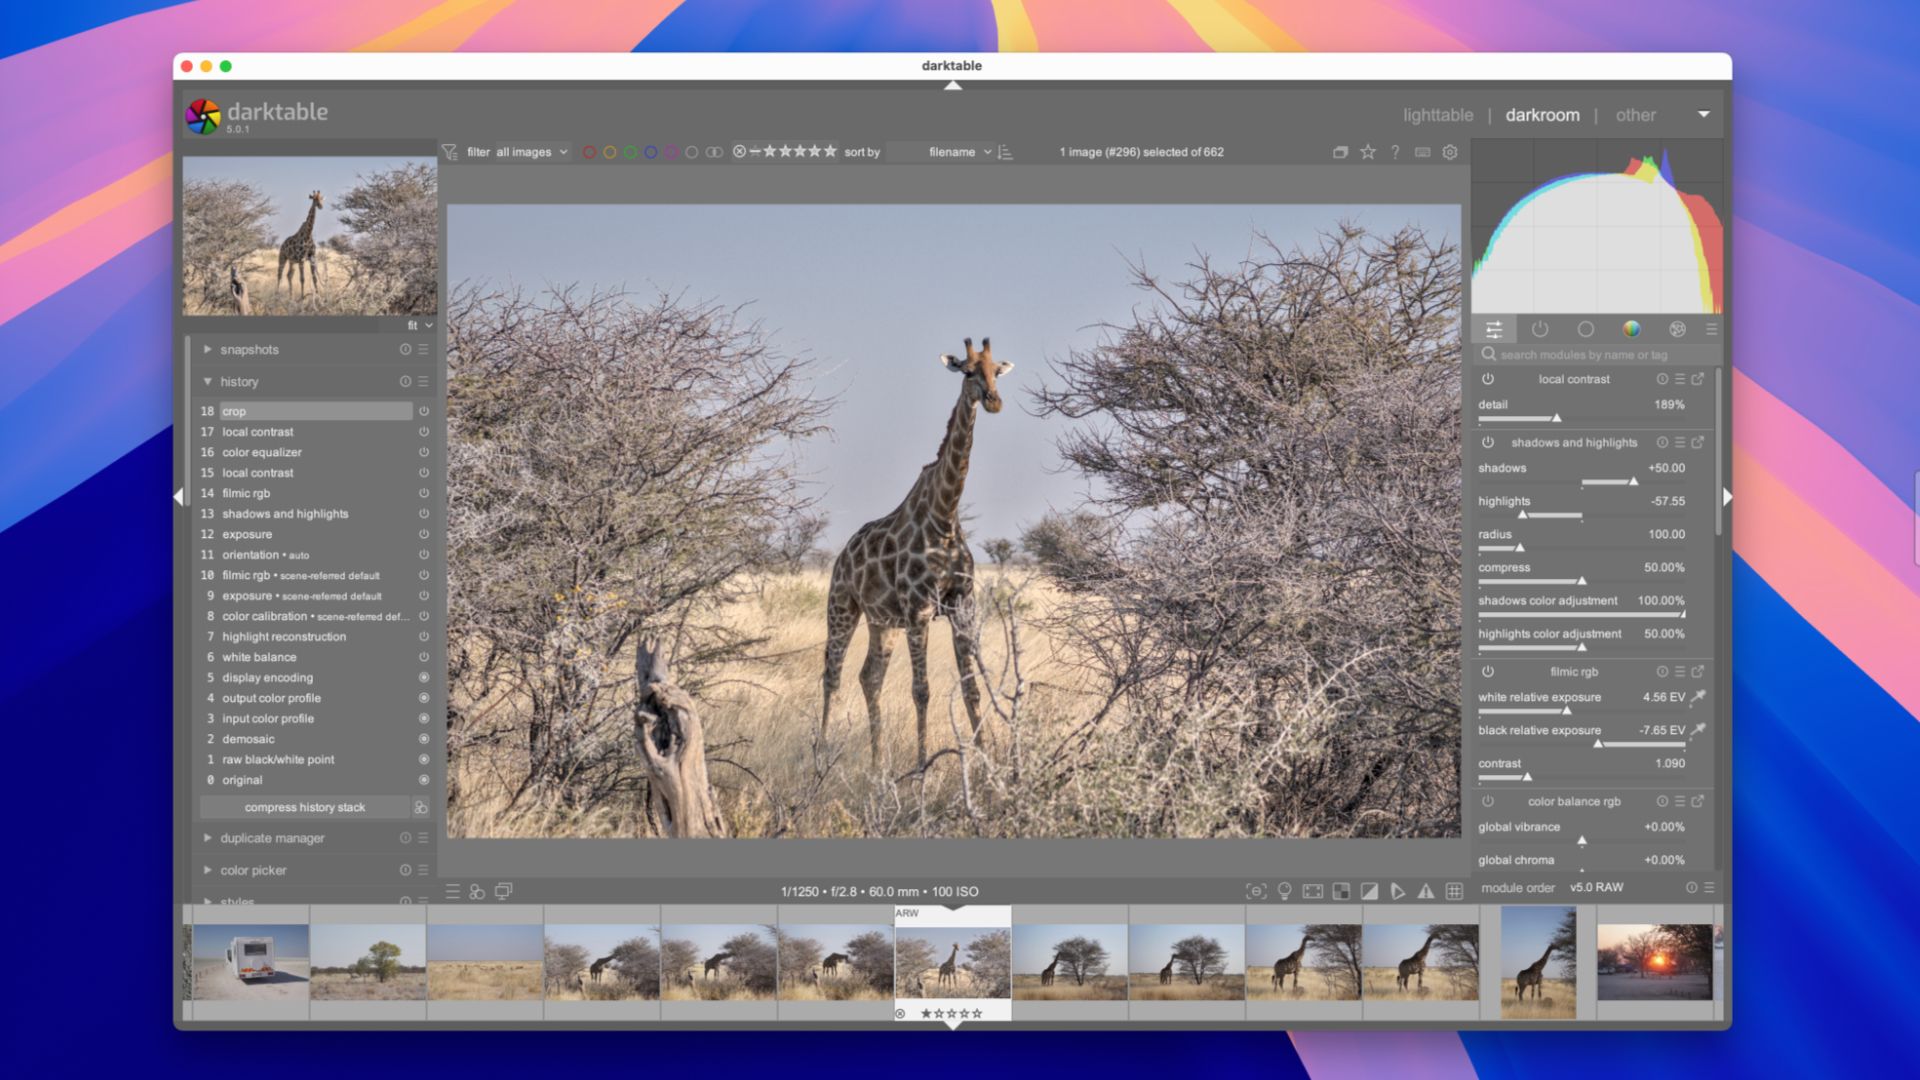
darktable is a free and open-source photography workflow tool that rivals Lightroom and similar premium products. With it you can browse, select and rate, develop, and export RAW image files. Though the app has a bit of a learning curve, it’s one that’s well worth taking some time to master. It’s also highly customizable, allowing you to set up your editing environment exactly how you like.
Related
This Open-Source Lightroom Alternative Is the RAW Editor I’ve Been Dreaming Of
You don’t need an Adobe subscription to access powerful photo editing tools.
Alternative open-source RAW editor RawTherapee (rawtherapee) is also available with Homebrew.
3
Itsycal
brew install itsycal
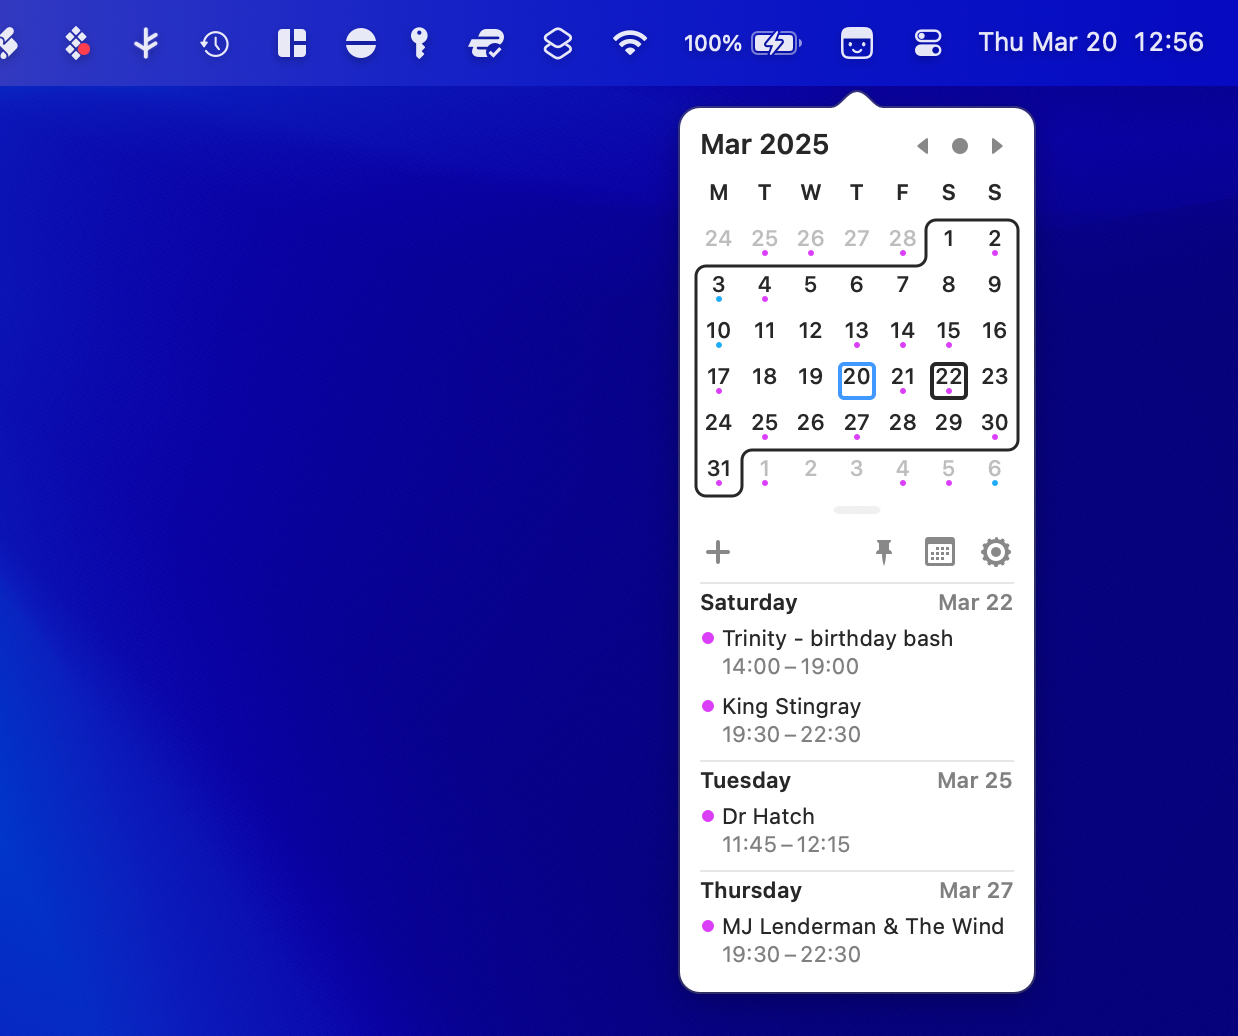
Itsycal is a single-purpose Mac app I couldn’t live without. The app places a small calendar in your Mac’s menu bar, giving you a month’s view at a glance. That’s how I use the app 90% of the time, since I’m bad at visualizing dates. Itsycal also displays your upcoming calendar appointments for a selected date and lets you create new events right there from your menu bar.
You can click a button to open Apple’s main Calendar app (this doesn’t replace Apple’s app, it simply augments it), and customize the app to display events from specific calendars and accounts (or show nothing at all).
4
Kodi
brew install kodi
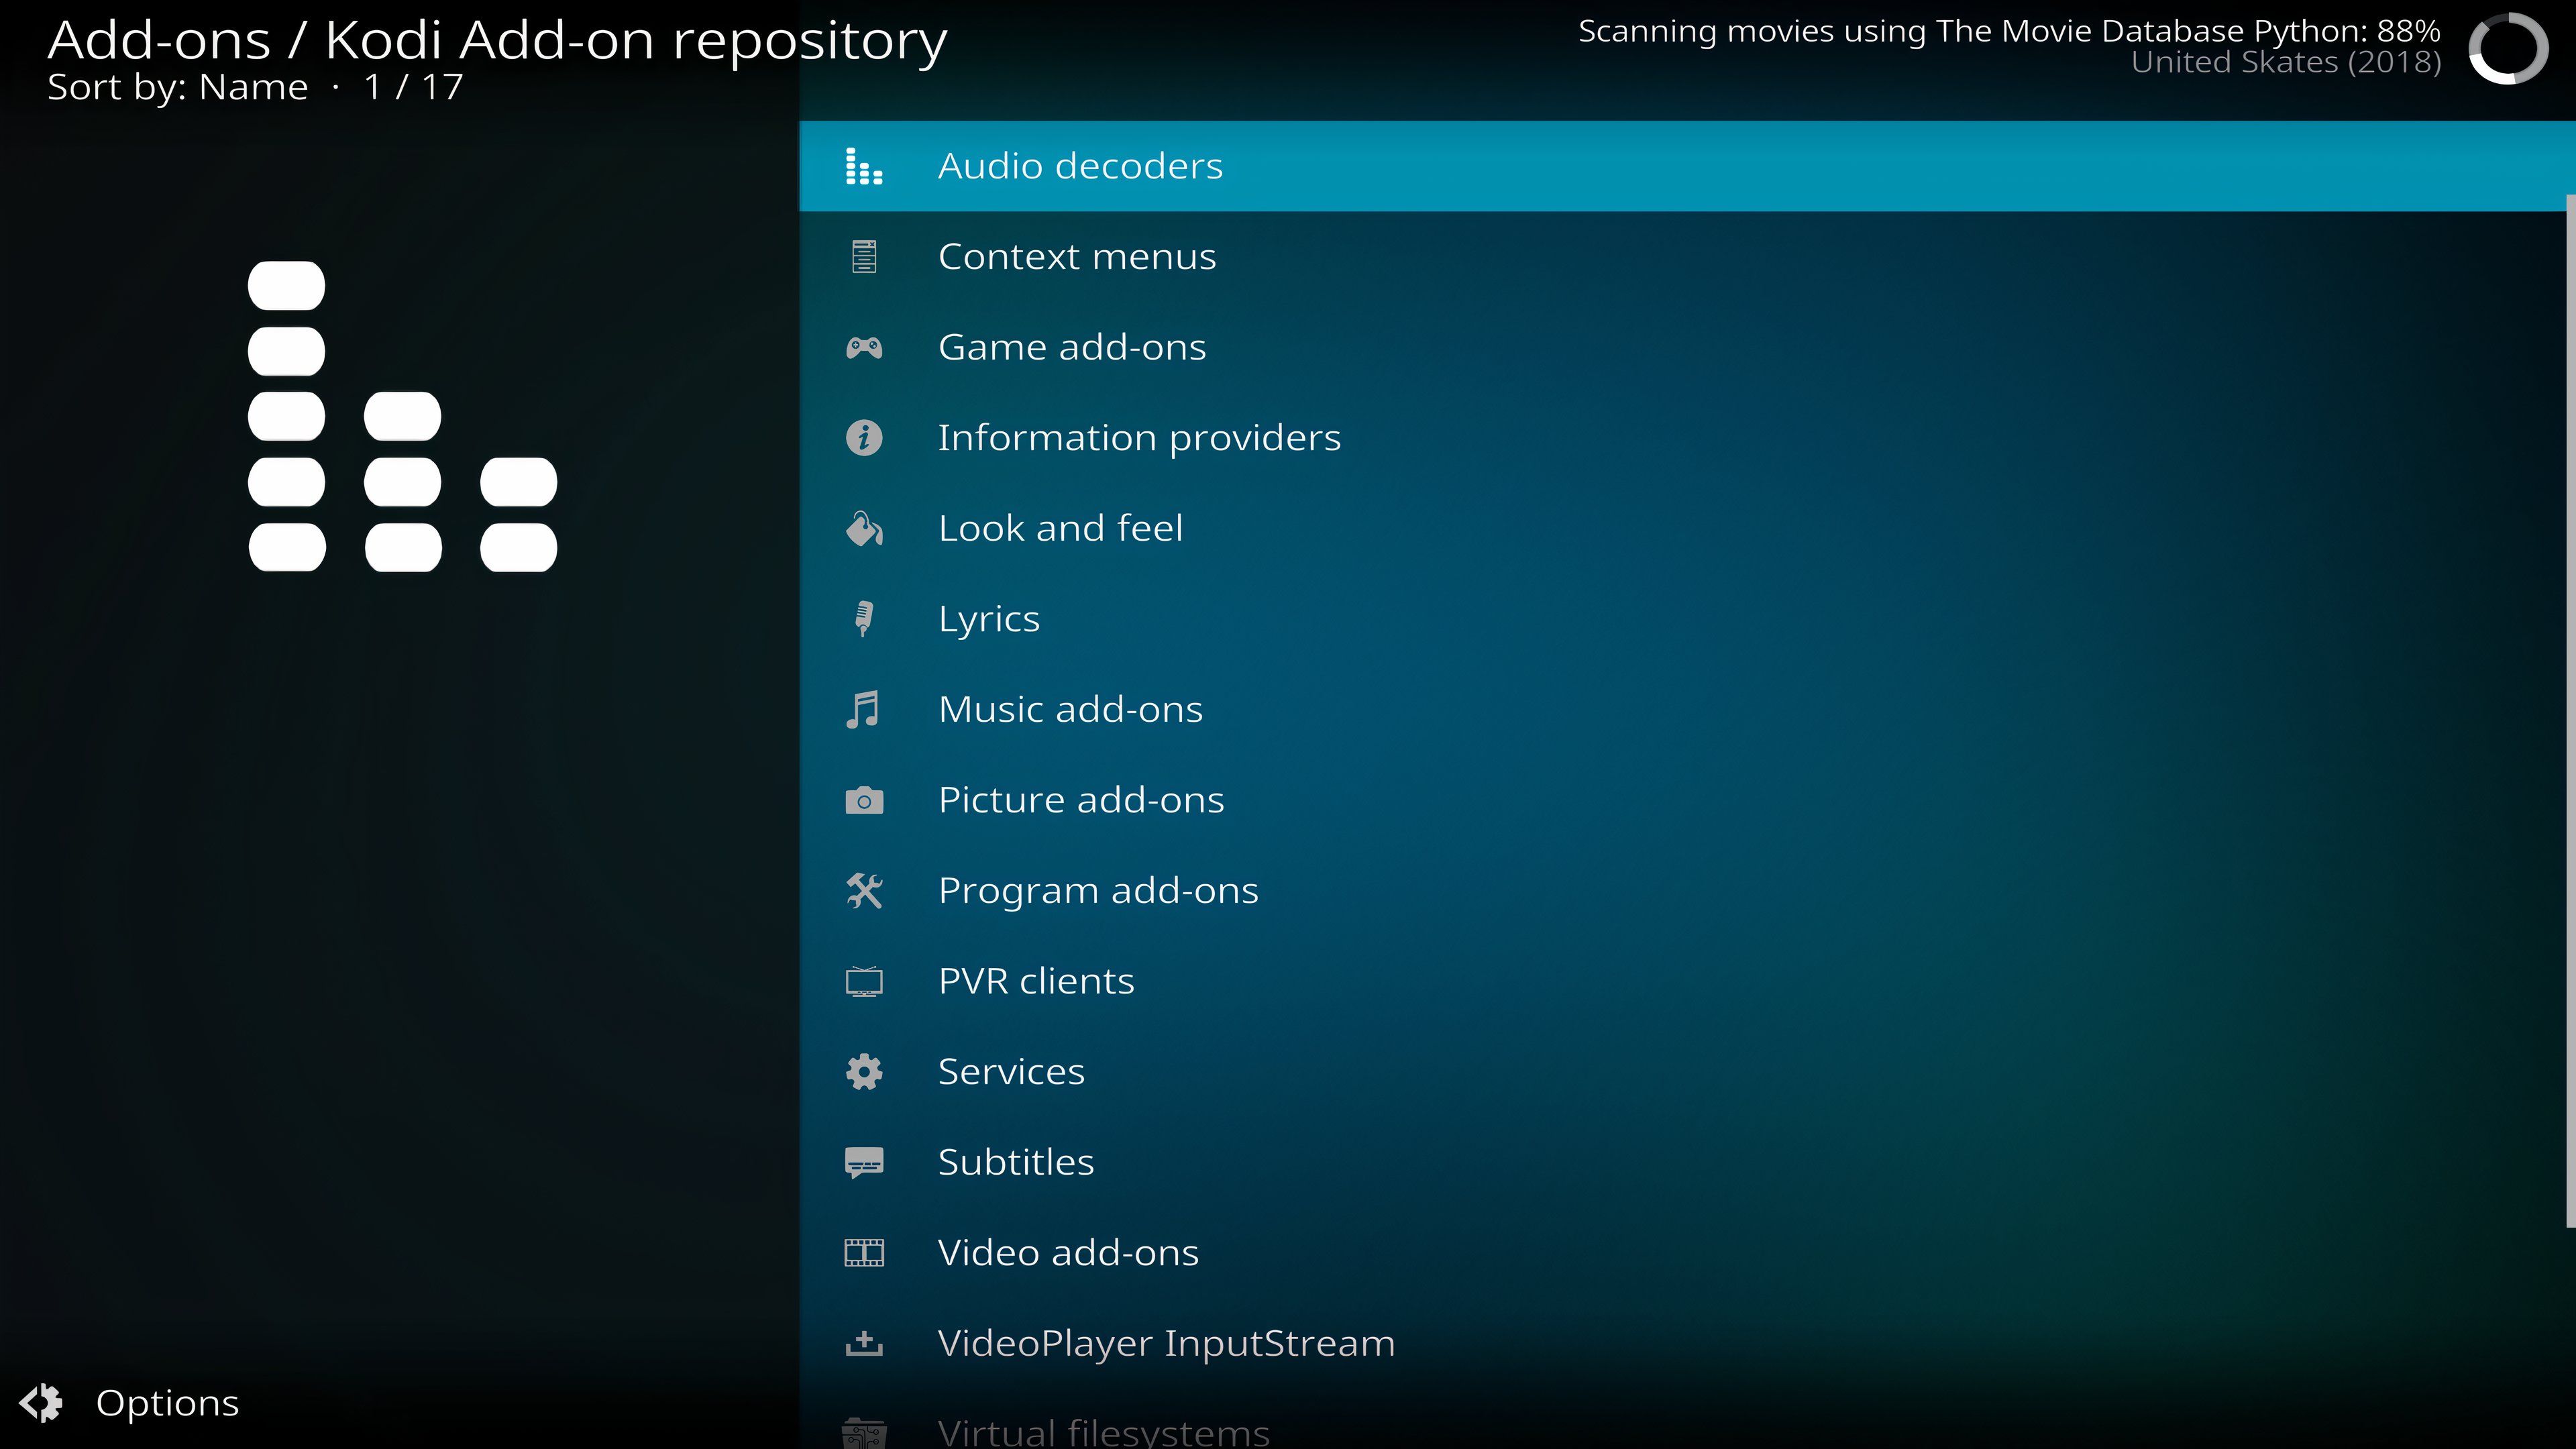
Kodi is a free and open-source media center application. You’re probably raising your eyebrows and wondering if I really need Kodi installed on every Mac, but it’s currently installed on all three Apple computers I own: my work MacBook Pro (for work reasons), my old MacBook Pro (for remote media reasons), and my Mac mini media center (for obvious reasons).
The app is arguably the most polished and extensible example of its kind, can be controlled with a gamepad, and even works with emulators and games. For streaming, you can also grab Stremio (stremio) too.
5
AltTab
brew install alt-tab
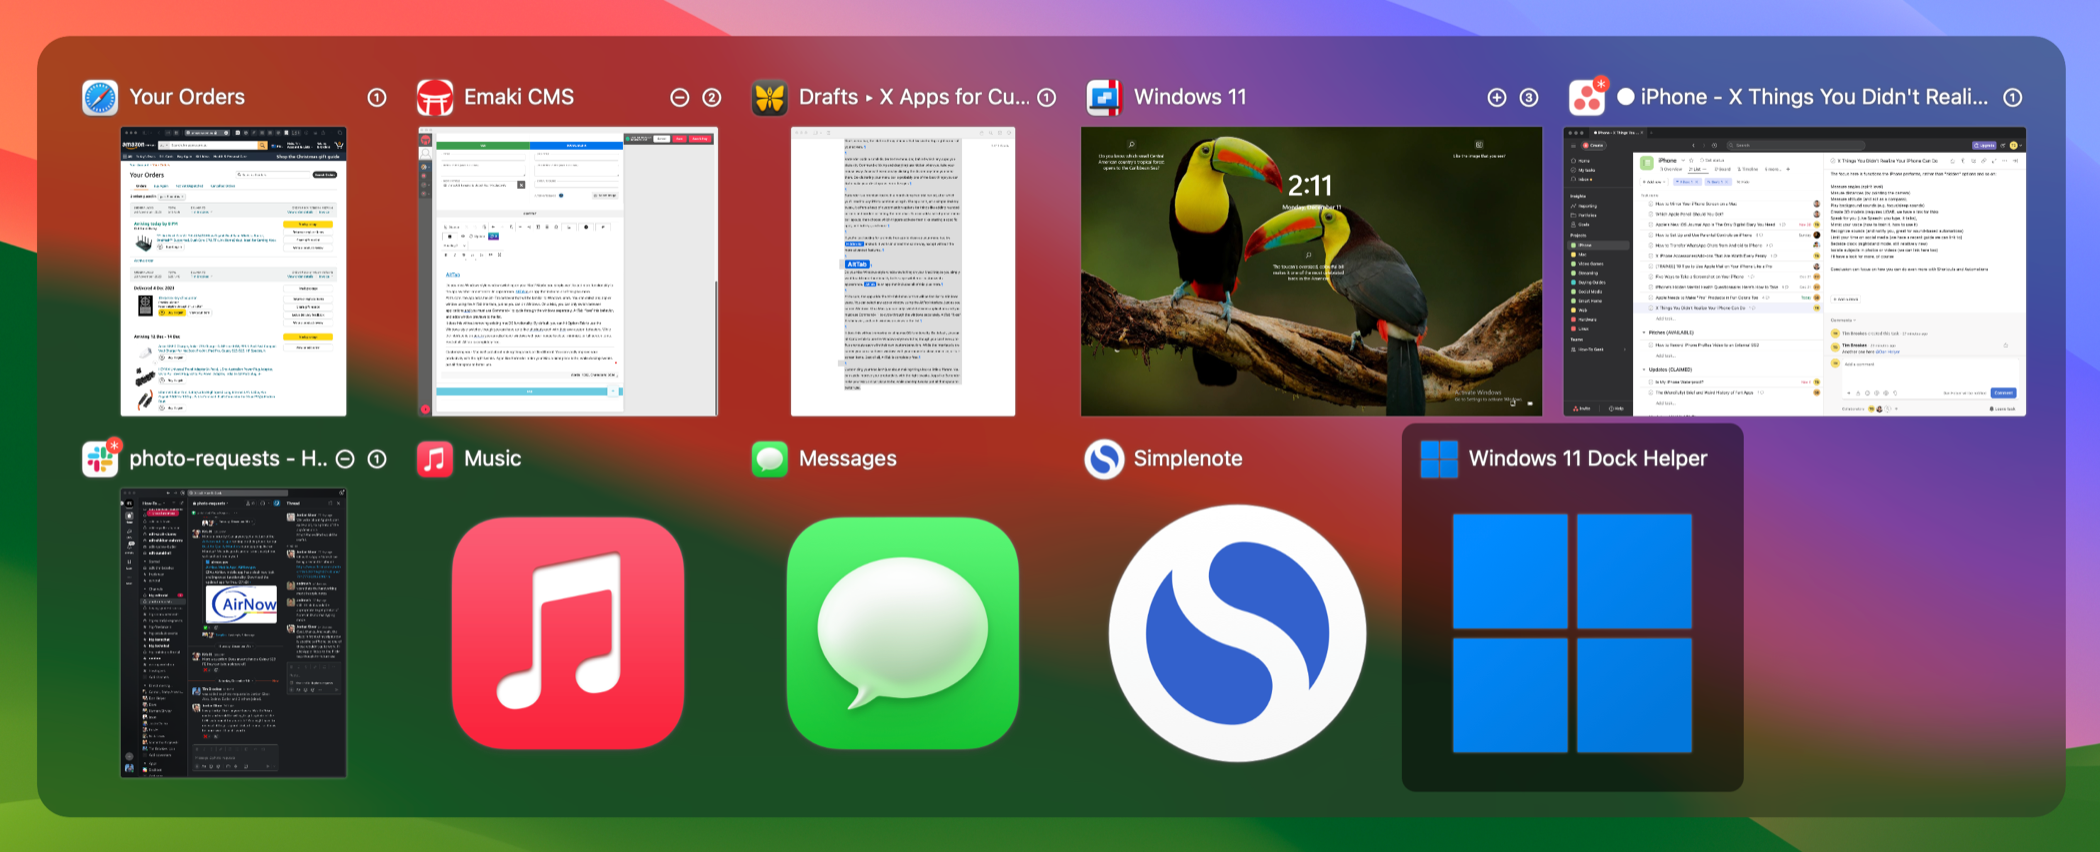
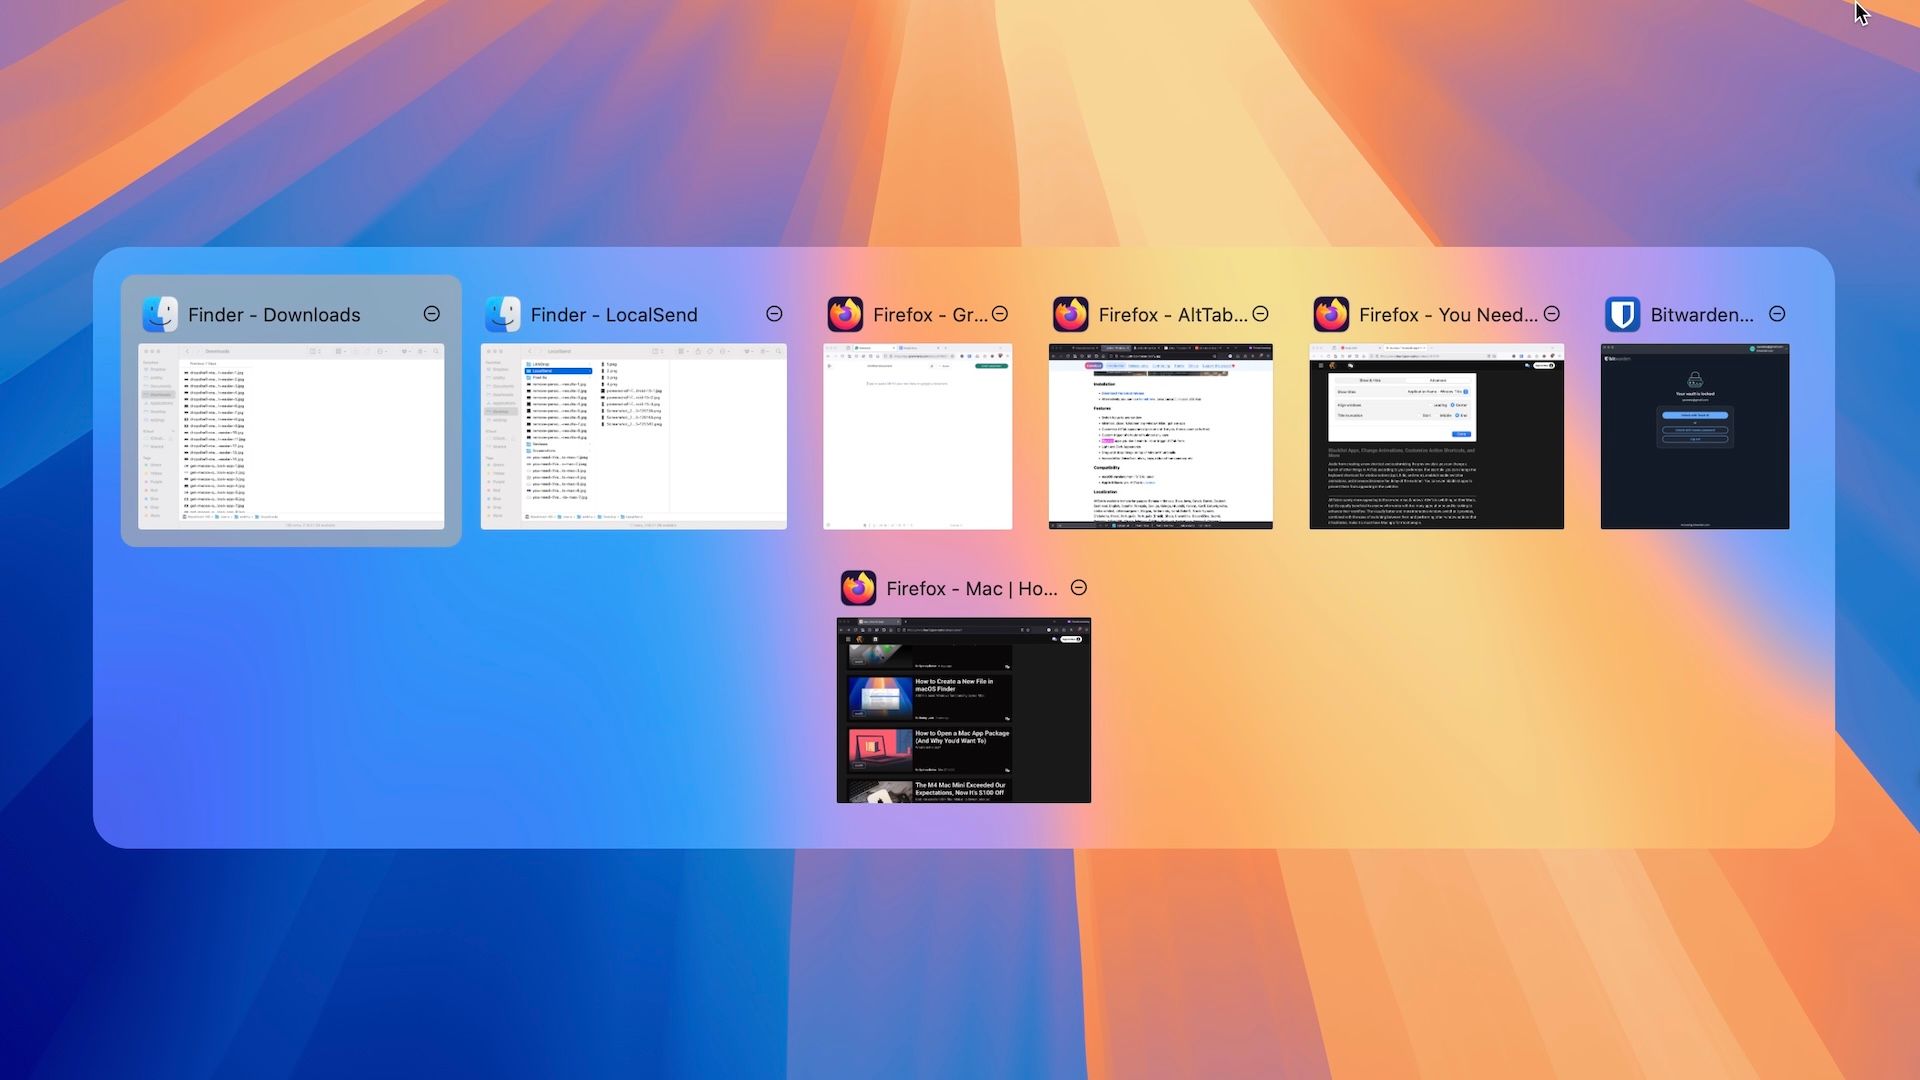
AltTab is a small tweak that adds Windows-style Alt+Tab behavior to macOS. Whereas Command+Tab only switches between active applications, AltTab allows you to add a shortcut that switches between all active windows. It also displays a preview of the window before you switch to it and adds a range of helpful shortcuts so you can go full-screen, minimize the window, or quit the app from the switcher itself.
This is a killer app for anyone who is switching from Windows, who misses that operating system’s default behavior. But even for macOS veterans like myself, it’s a handy app little tool.
Related
You Need This App if You’ve Just Switched From Windows to a Mac
Add Windows-style Command+Tab functionality to your Mac.
6
Jellyfin
brew install jellyfin
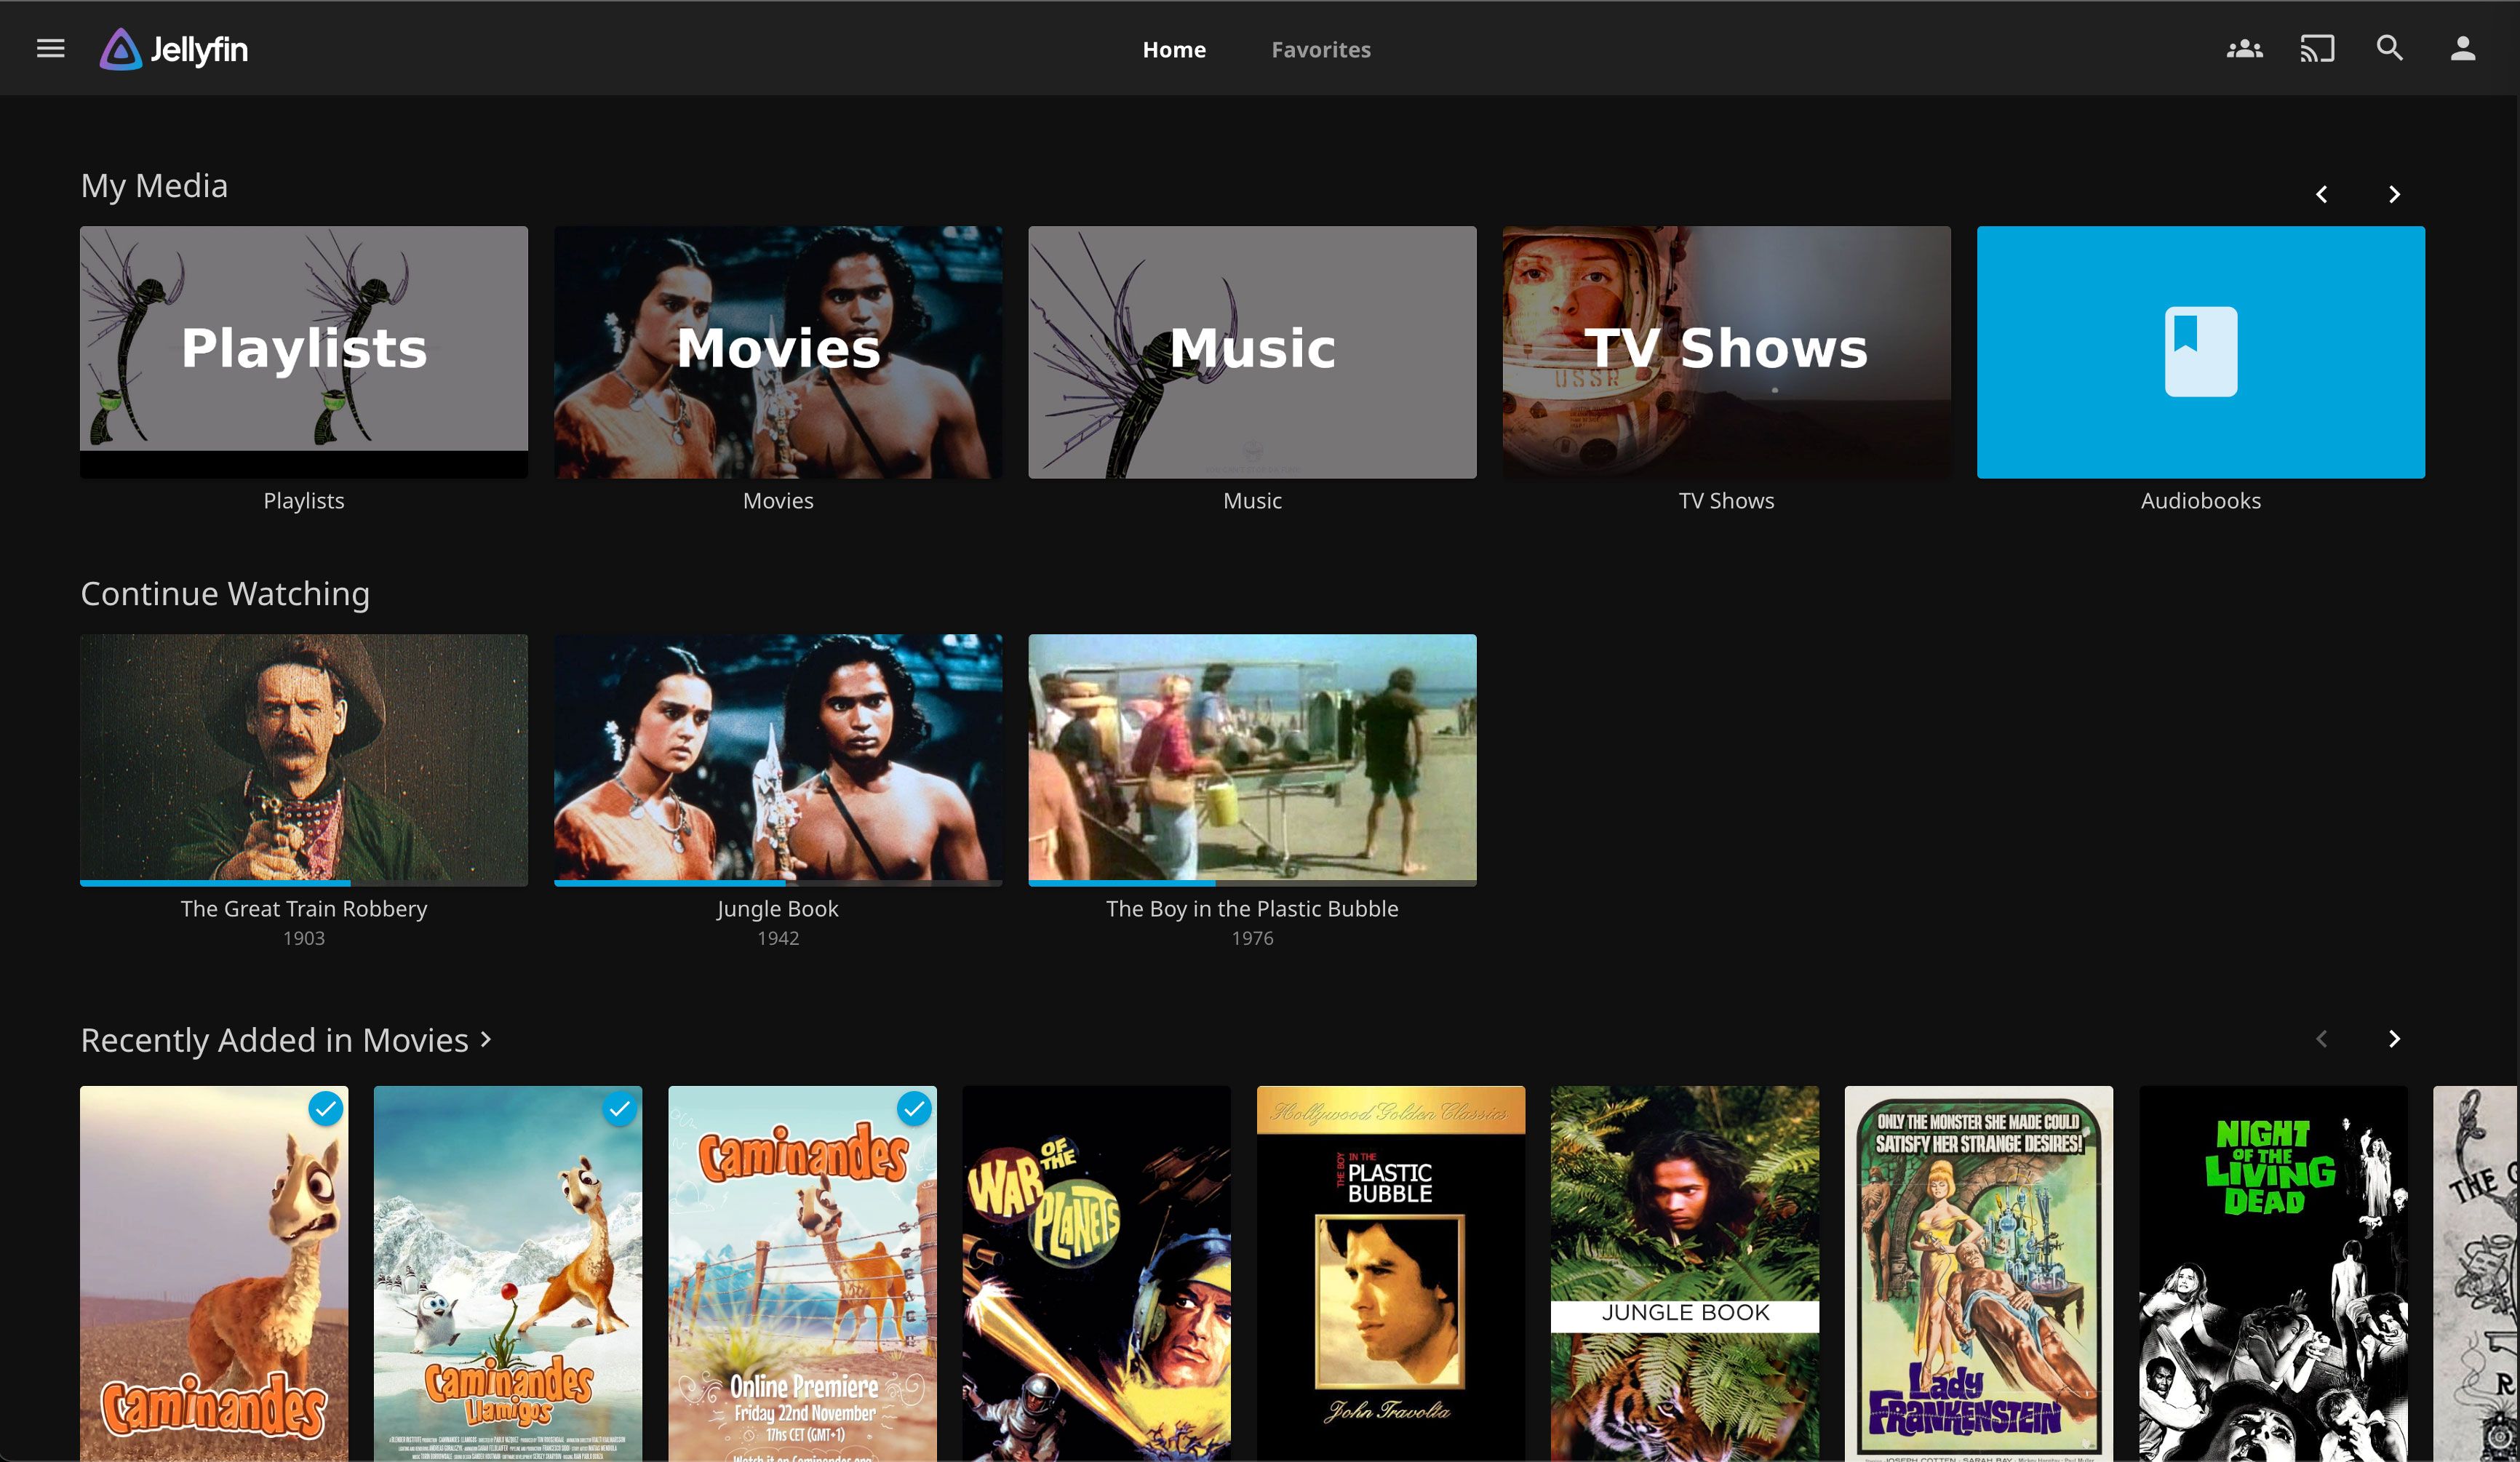
Jellyfin is a free and open-source Plex alternative media server app. Unlike Plex, Jellyfin doesn’t gate features like hardware-accelerated transcoding or mobile playback behind a paywall. Though it’s a little rougher around the edges than Plex, the app is powerful, easy to use, and now has native clients available for a large range of devices. It also supports universal plug-and-play (UPnP) for streaming to devices without a native app.
Use Jellyfin to curate a local media collection and serve devices all over your local network. Though the app is most useful on my Mac mini media center, I’ve got it installed on my main MacBook Pro for those instances when I want to share a video by dropping it into my nominated Jellyfin shared folder.

Related
If you’d rather Plex, you can grab that too (plex-media-server).
7
speedtest-cli
brew install speedtest-cli
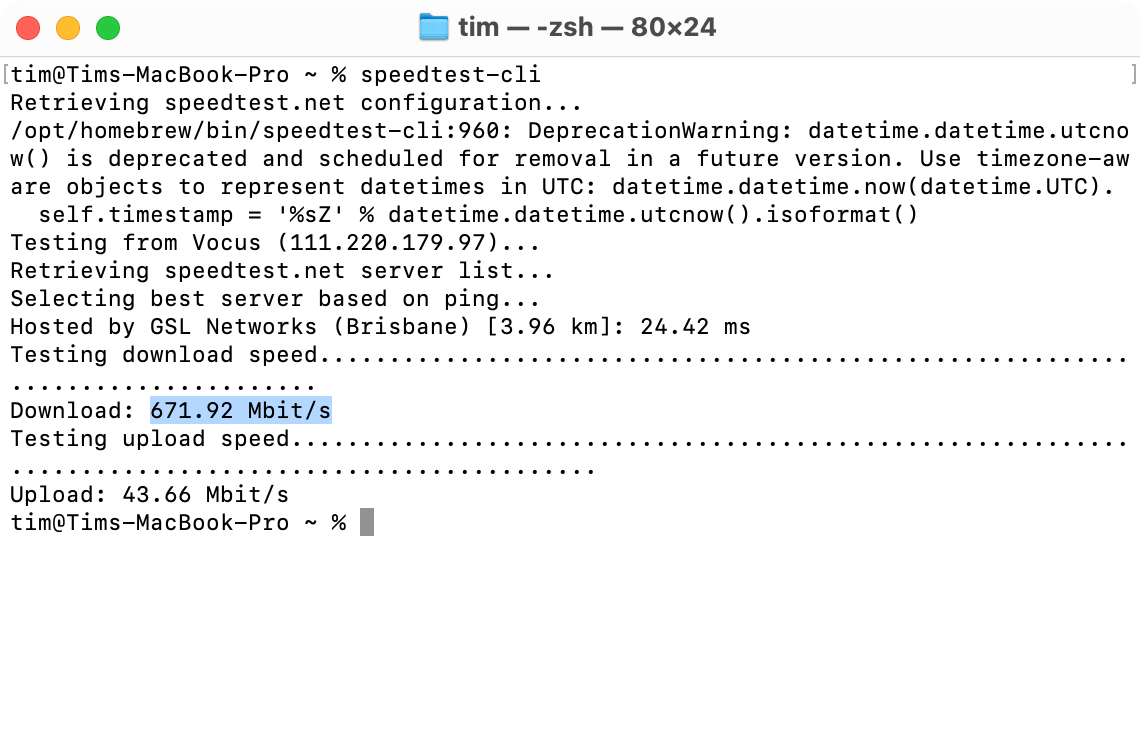
Homebrew isn’t just great for grabbing full apps, it’s also packed with useful command line utilities like speedtest-cli. As the name implies, this utility lets you fire off a quick internet speed test from the comfort of Terminal by running the speedtest-cli command. This is far quicker than opening a browser window and waiting for everything to load (including the ads), especially combined with an app like Raycast or a Finder alternative with a pinned Terminal window.
You can run far more complex speed tests by adding flags, just run speedtest-cli help find out more.
8
gallery-dl
brew install gallery-dl
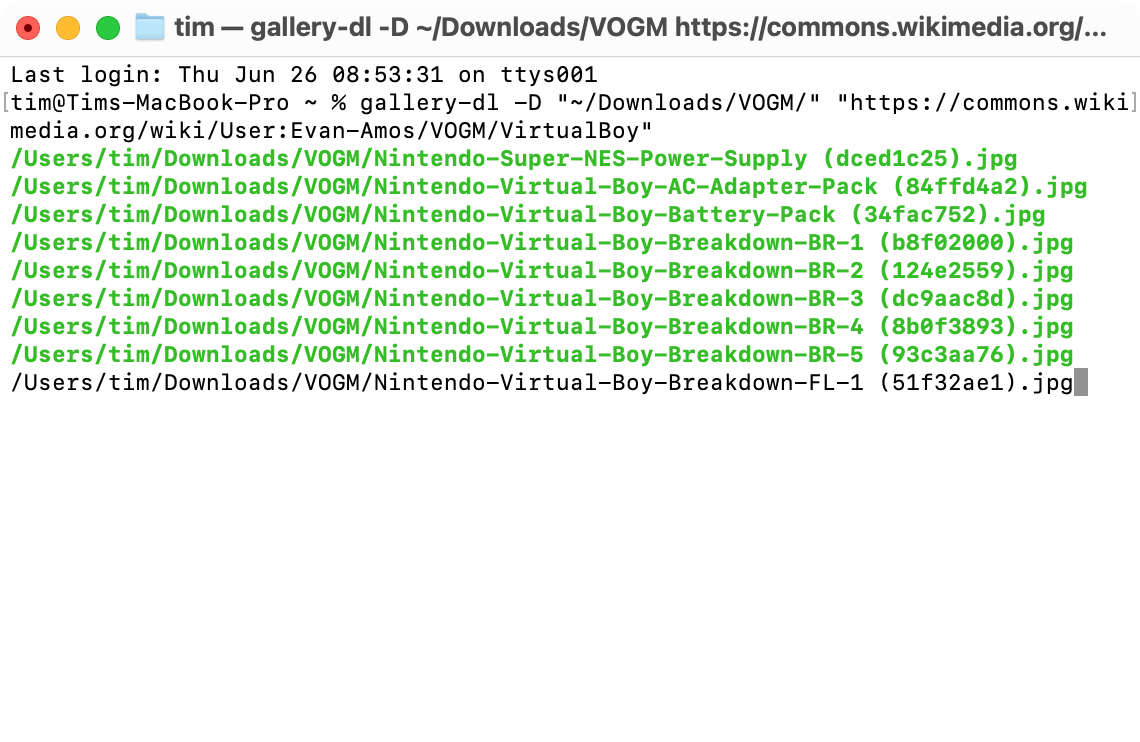
Another handy command line utility, gallery-dl is an image downloader that supports a wide range of sources. It’s super-handy for downloading a whole library’s worth of images at once, with support for sources as varied as Wikimedia, Flickr, Instagram, Bluesky, imgur, Tenor, Reddit, and much more. For basic usage, use the following:
gallery-dl -D "path/to/folder/" "URL"
Replacing path/to/folder/ with the intended destination for your files and URL with the website (but maintaining the quotes). Use the gallery-dl --help command for the full low-down. The tool is pretty intuitive, I’ve used it to grab public domain images from Wikimedia galleries (like the excellent Vanamo Online Game Museum) in far less time than it would take to manually browse the collection via a web browser.
9
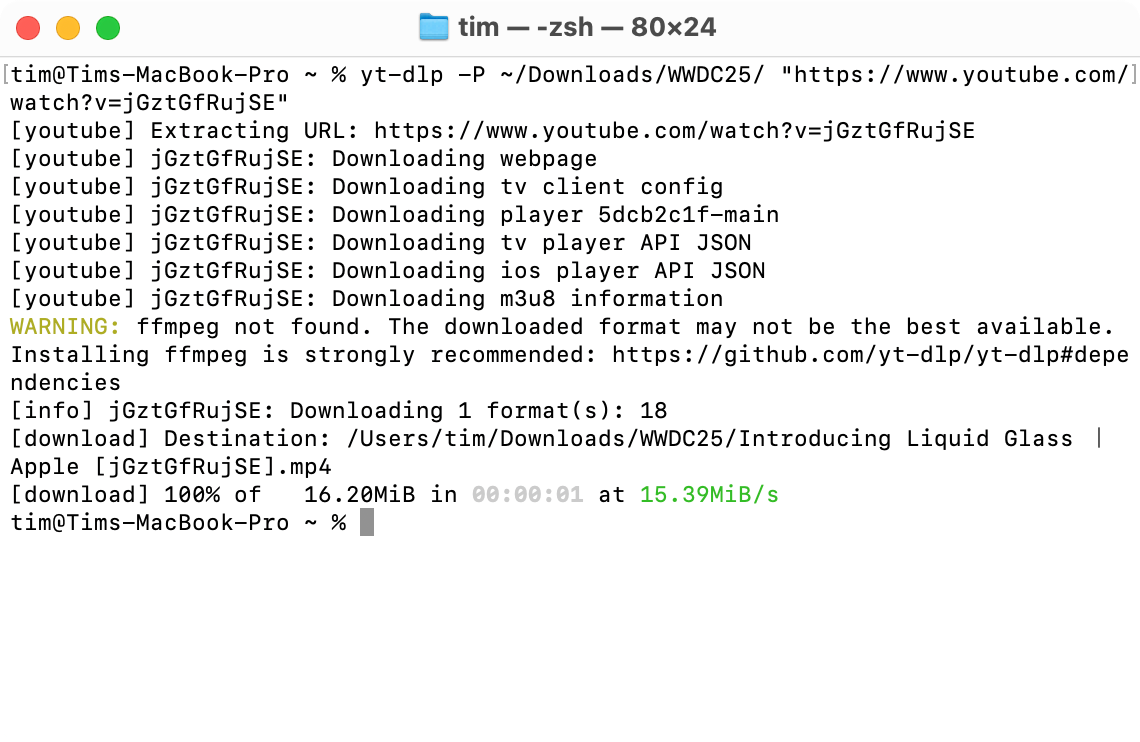
yt-dlp
brew install yt-dlp
Another handy command-line tool for saving media locally, yt-dlp is a video downloader. I recently used it to grab Apple’s WWDC 2025 keynote from YouTube so I could scrub through it locally and grab screenshots without having to worry about YouTube’s pesky controls and drop-shadow overlay. Like gallery-dl, the tool supports a ridiculous number of websites, from YouTube and Vimeo through to social media platforms like Facebook and Bluesky and much more. For basic usage, use:
yt-dlp -P path/to/folder/ "URL"
Replace path/to/folder/ and URL with the intended destination and source respectively (retaining the quotes). Use yt-dlp --help to see the ridiculous number of options available to you (including quality settings and authorization workarounds).
The example above downloads the lowest YouTube “default” quality. To download at higher quality, run the following:
Now look at the numbers next to each release, and use the lowercase -f flag to pick one and include that in your download command.
10
wget
brew install wget
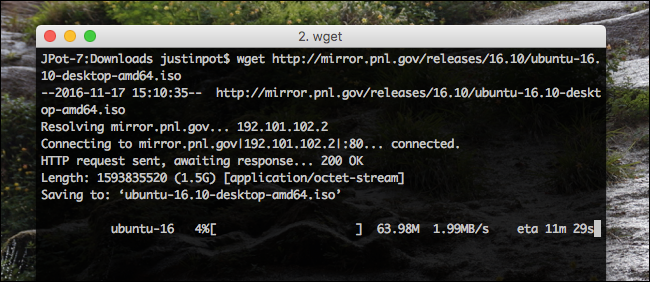
While specialized image and video downloaders make life easier, wget lets you download anything from anywhere with a simple command. It’s the oldest and best download manager, and it features a range of additional flags you can use to manage all of your downloading needs. For a simple download, use:
wget URL
Replace URL with a link to the file location on a remote server. Add -P path/to/folder/ (replacing path/to/folder/ with your destination) to specify where you want the files saved. Add flags like -M to mirror a whole website, or -c to resume a failed download. There’s a lot more you can do with wget, run the wget --help command to find out more.
Related
How to Use wget, the Ultimate Command Line Downloading Tool
Newer isn’t always better, and the wget command is proof.
The truth is that many of your favorite everyday apps are easily available via Homebrew. While it makes little sense to uninstall things just to install them again, keep this in mind the next time you’re setting up a Mac from scratch.

